
How to Build and Deploy a Production App With Cursor in Under an Hour
Scaffold with Next.js, steer Cursor with a written requirement doc, wire auth and data with ready-made services, then deploy to the web and fix each error in chat. Here is the workflow, plus what it means for a real business.

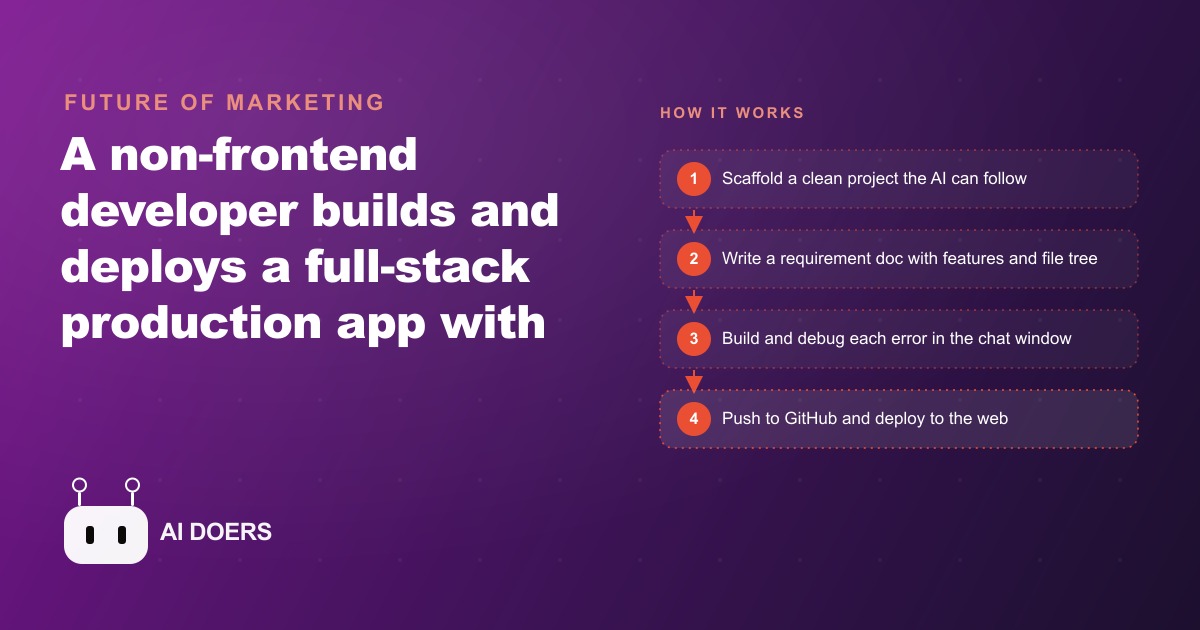
Building a full production app used to require a development team, weeks of work, and a budget that put it out of reach for most small businesses. The correct entry in your calendar for the same outcome is now one afternoon. I am Madhuranjan Kumar, and what follows is the complete workflow, broken into the steps that separate a successfully deployed app from a half-finished prototype that never makes it to production.
1. Start from a scaffold, never from a blank file
The single most expensive mistake in an AI-assisted build is starting from nothing. A blank project means the AI makes foundational architecture decisions on the fly, without the structure of a proven starter, and those decisions frequently conflict with each other by the time the project has more than two or three features.
The right starting point is Next.js initialized with shadcn and Tailwind. The command is straightforward and the setup runs in under five minutes. What you get is a project with working routing, a component library that handles accessibility and responsive behavior correctly, and a styling system that applies consistently across the application without you making those decisions during the build. You are starting at the point where a senior developer would start after they had already solved the boring infrastructure problems.
After the scaffold runs, open Cursor, Windsurf, or VS Code on the project folder specifically, not on the parent directory that contains the project alongside other things. The AI reads context from the working directory. If the working directory contains other projects, the AI gets confused about which dependencies apply to your build and makes suggestions that contradict your actual setup. The project folder, and only the project folder, is the working directory for every session.
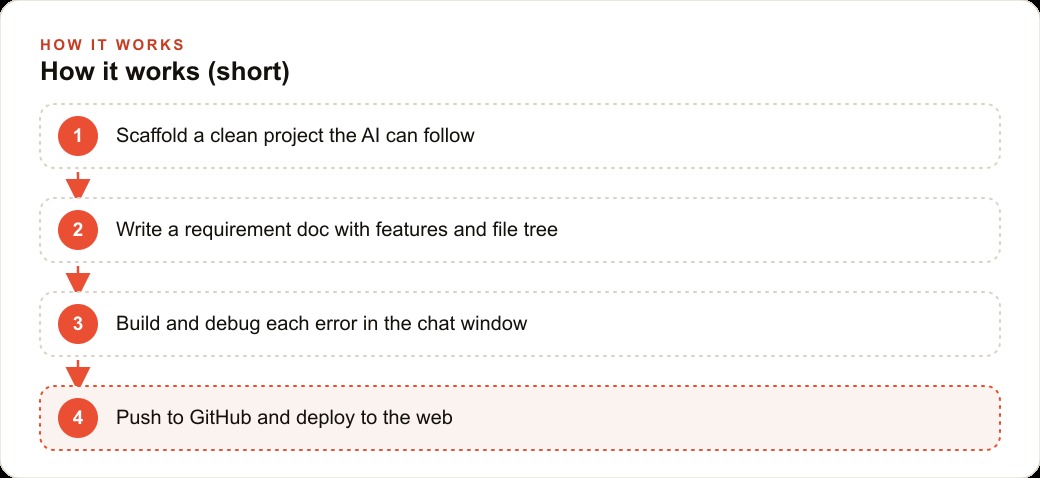
2. Write the requirement document before touching the AI code editor
The requirement document is the most underestimated step in the entire process, and skipping it is the most common reason a build ends up incomplete. Without a written brief, every prompt in the build stage starts without context, and the AI makes reasonable guesses about what the application should do that may conflict with decisions it made three prompts earlier.
The brief does not need to be long. It needs to cover four things. First, an overview: what the application does and who uses it, in two to three sentences. Second, a feature list: every specific capability the application needs to have, written as a list of concrete behaviors rather than vague categories. Third, any external API documentation relevant to the integrations the app needs. Fourth, a description or screenshot of the file tree that the scaffold created, so the AI has a reference for where files should be created throughout the build.
Save the brief as a markdown file inside the project folder. Name it something obvious. Reference it at the start of every Cursor session with the project context. This file is the shared context that keeps the entire build consistent across hours of development, and updating it when requirements change is how you keep the AI's behavior aligned with the current state of the project.
3. Use plan mode before generating any code
Claude Code inside Cursor, Windsurf, or VS Code has two modes that serve different purposes: plan mode and build mode. Using build mode without running plan mode first is the equivalent of asking a contractor to start construction without reviewing the architectural drawings.
Plan mode takes the brief and generates a complete development roadmap before writing a single line of code. It describes what files will be created, what each file will contain, how the features connect to each other, and what the build order should be. Reading this plan takes five minutes. Redirecting it when something does not match your intention takes another five minutes. Discovering the same misalignment after three hours of build time takes much longer to unwind.
Run plan mode on every new feature addition, not just at the start of the project. A feature added to an existing codebase has implications for files that already exist. Reviewing the plan for each new feature addition surfaces those implications before code is written rather than after.
4. Debug in the chat interface, not in the composer
Cursor's composer mode is for generating new code. Its chat interface is for understanding why existing code is broken. These two interfaces have different strengths, and mixing them up produces worse results than using each for its intended purpose.
When an error appears in the browser console or the application behaves unexpectedly, paste the error message into the chat interface rather than the composer. Add the phrase "let us think step by step" before asking for a fix. This phrase consistently produces more careful diagnostic reasoning rather than a quick code patch that fixes the surface symptom while leaving the underlying cause intact. A quick patch often introduces a new error because it changes code that depended on the behavior being patched.
Two recurring error types in Next.js builds are worth knowing in advance because they appear frequently enough to be predictable. The first is a missing "use client" directive on interactive components. Next.js renders components on the server by default, and components that use browser-specific features like state or event handlers need the "use client" directive at the top of the file. When a component that needs this directive is missing it, the error message is specific and the fix is one line, but recognizing the pattern saves the diagnostic step. The second is images blocked because their source domain is not in the trusted list. Next.js requires external image domains to be explicitly listed in the next.config.js file. When an image fails to load, checking whether the domain is listed is always the first diagnostic step.
5. Use Clerk for authentication and Supabase for the backend
Authentication built from scratch in a one-day build is a multi-day project that introduces security risks for which the time savings do not justify the exposure. Clerk handles signup, signin, session management, and multi-method login out of the box. The setup requires two files: ClerkProvider added to the application layout and the middleware file that Clerk provides. After those two files are in place, every route in the application has authentication handled correctly.
Supabase provides the database layer: a Postgres database, file storage for images and documents, and vector search capabilities if the application needs them. The connection configuration goes into environment variables that Supabase provides after project creation. Those variables live in a local .env file that is never committed to the code repository. The database structure, which tables exist and what columns they contain, is defined through the Supabase dashboard or through SQL run in the Supabase console.
For a landscaping company building a field-assessment-to-proposal workflow, the Supabase setup takes about thirty minutes. One table holds the assessment records, with columns for the property address, the assessment date, the crew lead, the service types identified, and a notes field for additional context. A second table holds the generated proposals, linked to the assessment record by a foreign key. A storage bucket holds the photos captured during each assessment. Those three structures support the entire workflow.
6. Push to GitHub after every working milestone
Version control is not optional in an AI-assisted build. It is the mechanism that makes the build reversible when something that was working breaks during a later iteration.
The habit is to push to a private GitHub repository every time a meaningful feature is working correctly and tested in the browser. Not every prompt. Not every file change. Every milestone where the application is in a state you would be willing to return to if the next hour of development introduced a breaking change.
A landscaping company's quoting app has several milestones in the course of a single build session: the scaffold is set up and confirmed to run, the assessment form is working and saving to Supabase, the proposal generation is working and producing correct output, the email notification is working and sending correctly, the deployment is live and confirmed. Each of those is a push point. When a later change breaks something, the question "which working state do I return to" has a clean answer rather than requiring a manual reconstruction of a working state from memory.
7. Deploy to Vercel from GitHub with the root directory configured correctly
Deployment to Vercel from a GitHub repository takes about five minutes, and the most common failure mode is one specific configuration error: not setting the root directory correctly in the Vercel project settings.
When the application lives at projects/my-app/ and you push the entire projects/ folder to GitHub, Vercel reads from the repository root by default and cannot find the application's package.json. Setting the root directory in the Vercel project settings to my-app/ is the fix, and it takes thirty seconds to do before the first deployment rather than hours of debugging after the first deployment fails.
The first production deployment almost always surfaces a small number of errors that did not appear in local development. Type errors that TypeScript flags in the build but not during local development. Import paths that work locally but resolve differently in the production environment. Function timeout limits that Vercel enforces in production but not locally, which affects any operation that runs longer than ten seconds by default: image generation, document processing, external API calls with variable latency. Raising the timeout limit on slow endpoints in the Vercel configuration is the solution to the last category, and it requires a one-line configuration change in the function export.
What this means for a landscaping company specifically
A landscaping company doing twenty site assessments per week and producing twenty proposals faces an average gap of two to three days between assessment and proposal delivery, because the office work competes with the scheduling and crew management that requires the owner's attention throughout the day.
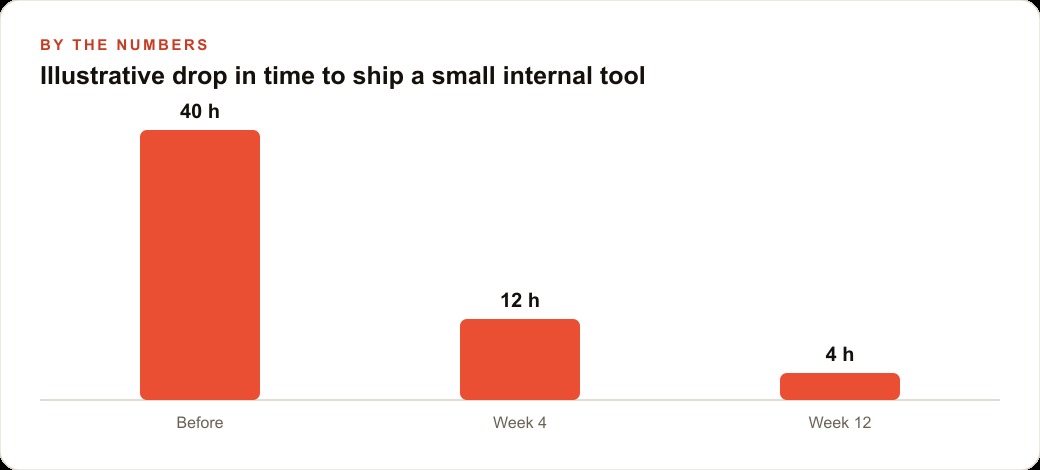
A quoting app built on this workflow closes that gap to under an hour. The technician fills in the assessment form from a mobile browser during or immediately after the site visit. The office receives the assessment instantly via a Supabase notification. The proposal generation workflow takes the structured assessment data, applies the company's service pricing, and produces a formatted proposal the office manager reviews and approves in two minutes. The approved proposal emails to the client within the hour the assessment was completed.
A realistic improvement in quote acceptance rate from faster delivery, moving from three-day turnaround to same-day, is eight to twelve percentage points based on how service businesses typically respond to quote timing. For a company producing twenty quotes per week at an average job value of twelve hundred dollars, a ten-point improvement in acceptance rate is two additional jobs per week, or over one hundred thousand dollars per year in additional revenue from a tool that cost one day to build and under fifty dollars in software subscriptions to run.
The application also creates data that did not previously exist: which proposal types close fastest, which crew leads' assessments produce the highest acceptance rates, what time of year has the longest assessment-to-acceptance window. That data compounds in value as it accumulates, and the business that has a year of it in Supabase when a competitor starts building the same workflow has an analytical advantage that cannot be purchased.
Whether to build this application yourself using the workflow above or to bring in someone who has built this type of tool for similar businesses depends on whether the learning time required is the right use of your week. Both paths produce the same tool. The path that does not produce it is waiting until the decision about which path to take has been made for long enough that the competitive advantage has narrowed.
That is exactly what we do at AI DOERS. Book a private 30-minute call with Madhuranjan Kumar and we will map the fastest path to it for your specific business.
Book your call →
Madhuranjan Kumar
Madhuranjan Kumar brings 20 years of performance-marketing experience and has managed over $200 million in Facebook ad spend for brands across the United States and beyond. His expertise spans the full modern marketing stack: Meta, Google Ads, TikTok, email automation, CRM, and the websites that hold it together. At AI DOERS he turns that track record into lead-generation systems for businesses across every industry.