
How OpenClaw Built a 3D Model and Shipped a Live Page With No Code
With no coding and no 3D skill, an AI agent taught itself to drive a 3D tool, customized a real model, and deployed a live product page, all through plain-English chat. The workflow is the lesson: connect the real tool, point precisely, and let the agent close the last mile.

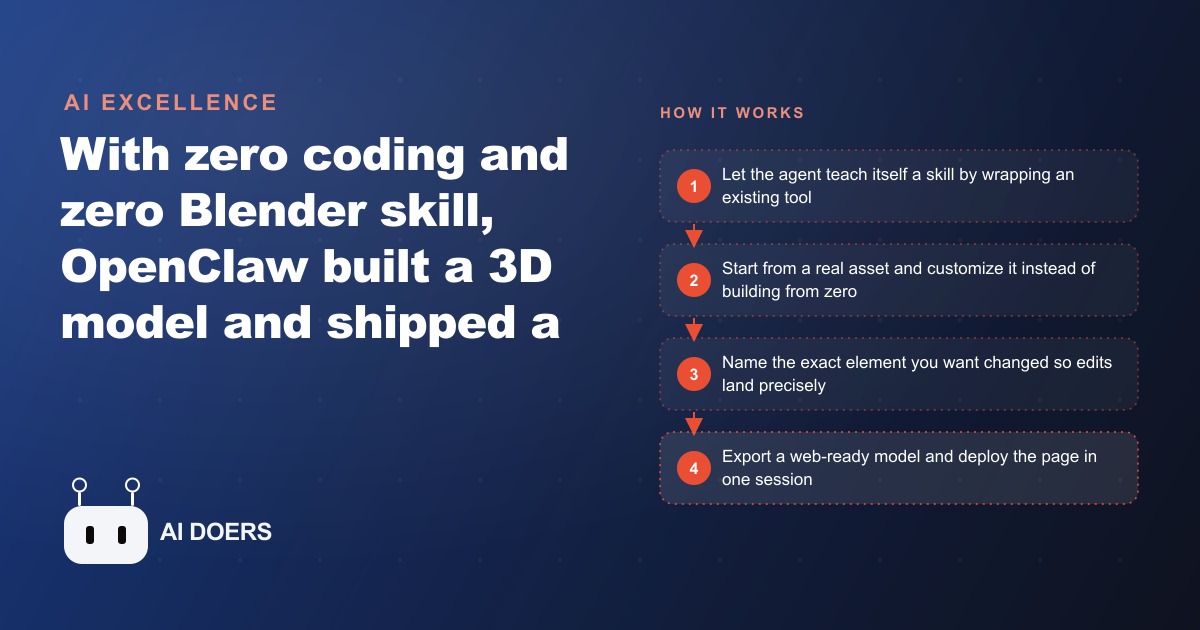
An AI agent just taught itself to control a professional 3D design tool, built a custom product model inside it, swapped in a new logo, rewrote the engraved text, recolored the chassis to a specific shade, exported the result as a web-ready file, and deployed a live product page with a spinning interactive viewer, all without the person operating it knowing how to write a single line of code or use 3D software. That is what happened in a recent walkthrough, and the mechanism behind it is the story worth understanding.
I am Madhuranjan Kumar. The tool is called OpenClaw, and the 3D software is Blender, connected through an add-on that runs a local server. The human's role in the whole build was typing descriptions in a chat window. The agent figured out the plumbing, diagnosed a viewport shading issue when the scene looked flat gray, named and targeted specific model layers, and sent progress screenshots to a phone so the operator could watch and redirect from anywhere. The lesson here is not about 3D specifically. It is about what the expanding category of things an agent can drive means for businesses that sell physical products.
The agent extended its own capabilities by absorbing an existing tool
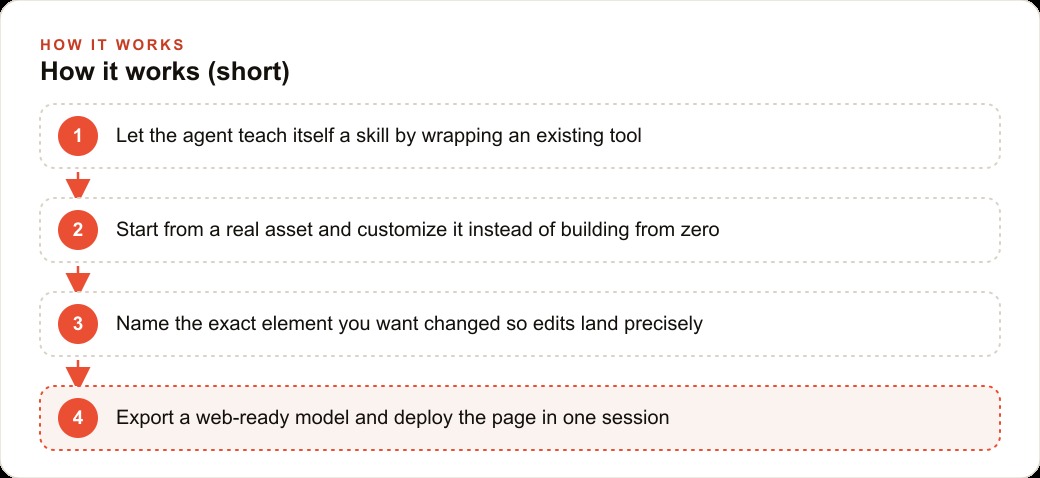
The mechanism that made the whole build possible is worth understanding before anything else. OpenClaw can teach itself a new skill just by being told to find one. The operator did not write an integration script or configure an API by hand. He told the agent to search the web, find the bridge to Blender, wrap it, and use it as a skill. The agent identified the Blender MCP add-on, provided instructions for installing it and enabling it in preferences, and then connected to the server running on the local port. From that point, it could see and edit the scene.
The category of tools an agent can drive this way is expanding fast. A year ago the list was mostly text-based tasks. Now it includes 3D software, code editors, browsers, spreadsheet applications, and anything else that exposes a local port or an API. Each new tool the agent can absorb is one fewer thing that requires a specialist hire. The human's job shifts from configuring integrations to describing the skill and letting the agent find the plumbing.
For businesses that sell physical products, this matters because interactive 3D product visualization has always required a 3D artist and a web developer per product. When a single agent can customize a base model and ship the viewer in one session, that capability moves within reach of sellers who previously had to settle for flat photography.
Starting from a real asset is the move that made the build actually work
The first practical lesson from the walkthrough is about where to start. The operator did not ask the agent to model a product from nothing. He purchased a pre-made blend file of a computer, imported it into the project, and used that as the starting point. Everything from there was customization rather than creation.
Building a complex product model from scratch is a task that even experienced 3D artists spend hours on. Starting from a purchased base model that is close to the final product shifts the work from creation to editing, which is exactly where an agent excels. The agent is far more effective at making targeted changes to an existing layered model than at building one from zero. The purchased model brought with it a full layer structure, named materials, and existing geometry. All of that became the vocabulary for the agent's edits.
For any business thinking about adding 3D viewers to product pages, this is the practical entry point. Find or purchase a base model that is close to the actual product. Import it. Use the agent to customize it to match the real thing rather than attempting to build the model in a session.
Naming things precisely is what keeps edits from landing in the wrong place
The second practical lesson is about naming. The Blender scene contained dozens of layers with specific names like M4001 for the chassis and M4024 for the engraved text. When the operator wanted to change the chassis color, he told the agent to target the layer named M4001. That specificity is what made the change land exactly where it was supposed to rather than guessing across an unnamed mesh and applying it to the wrong surface.
This precision also made it possible to make multiple targeted changes in sequence without any of them interfering with the others. Recolor M4001 to the deepest red possible, then dial it slightly darker. Add a thin disc over the top surface and place a sticker from a specific URL on it. Rewrite the text in M4024 to read the new brand name. Each instruction was surgical because each targeted a named element.
The name of the layer or material is the vocabulary that makes agent-driven editing work in 3D software. Without it, the agent is working in a scene full of unlabeled objects and has to guess which one to change. With it, each request is precise. Before asking the agent to edit anything, confirm the exact name of the element in the scene and use that name in the request.
Getting screenshots sent to a phone changed what remote supervision means
A detail in the walkthrough that reveals something important about working with agents is the screenshot loop. Progress screenshots were sent to a chat app on the operator's phone as the build progressed. He was not sitting at the desk watching the screen. He was elsewhere, and the agent was sending him visual proof of its progress so he could watch it build and reply with new instructions from his phone.
This is what working with an agent that runs for longer than a few seconds actually looks like. The agent handles the tedious execution while the human supplies direction and judgment from wherever they are. When something looked wrong, like the viewport showing flat gray instead of real colors and materials, the agent diagnosed it immediately as a shading mode issue and switched to the right preview. The human did not need to know what solid shading mode was. He just needed to see the screenshot and say that does not look right.
For any business using agents on longer tasks, building a visual feedback loop is worth the setup time. An agent that sends you progress updates via a messaging app, a dashboard, or a log file means you can oversee the work without being physically present at the machine running it.
The product page shipped in the same session the model was built
Once the model was customized and exported as a GLB file, the format a website needs to render an interactive 3D object, the agent built a product listing page with a spinning draggable viewer, a price, and basic listing details. It served the page locally first so the operator could check it, then deployed it to a hosting service and returned a public URL. The whole chain, from a plain-English description of a branded computer to a live product page anyone could visit and interact with, happened in a single session.
For a business that sells a physical product and has been relying on flat photography, the path to adding a 3D viewer now looks like this: purchase or commission a base model once, customize it for each variant using an agent, and ship the viewer alongside a product page in one session per variant. The cost of a 3D viewer used to be measured per product with separate artist and developer fees. When an agent customizes a base and ships the page in one session, the cost structure changes entirely.
The business case is clearest for high-consideration purchases where photography fails to convey scale, finish, or detail well. A spinning, draggable model lets a shopper judge proportion and finish before buying, which typically reduces returns and increases purchase confidence on items that rely on a sense of the physical object. For a business running Facebook and Instagram ad campaigns and Google Ads to drive traffic to product pages, a richer page experience means the traffic the ads deliver converts at a higher rate, which improves every metric from return on ad spend to cost per acquisition.
For businesses managing their presence through a CRM and web stack, the 3D viewer integrates into a product page the same way any other embedded element does, and the live link the agent produces is ready to embed directly. The technical barrier between wanting a 3D product viewer and having one on a live page is now smaller than the barrier between wanting a new social media graphic and having one, because the agent handles the entire chain from model to deployed page in one session.
That is exactly what we do at AI DOERS. Book a private 30-minute call with Madhuranjan Kumar and we will map the fastest path to it for your specific business.
Book your call →
Madhuranjan Kumar
Madhuranjan Kumar brings 20 years of performance-marketing experience and has managed over $200 million in Facebook ad spend for brands across the United States and beyond. His expertise spans the full modern marketing stack: Meta, Google Ads, TikTok, email automation, CRM, and the websites that hold it together. At AI DOERS he turns that track record into lead-generation systems for businesses across every industry.