
How to Build an AI Image and Thumbnail Tool With Cursor, No Coding Required
A clear breakdown of how the Cursor AI editor lets you build an image generator that creates, edits, and inpaints pictures. With a real estate agency example you can put to work.
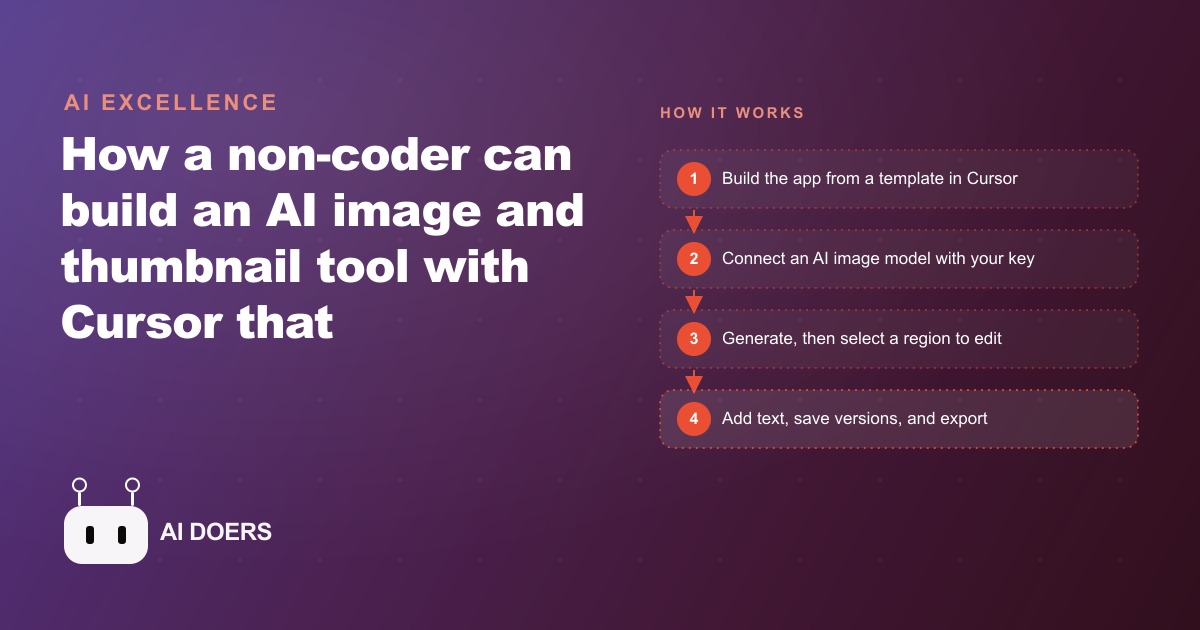
Most marketing teams produce a handful of branded images per week and call that a content operation. The bottleneck is always the same: waiting for a designer, or paying per image on a platform nobody controls. Madhuranjan Kumar has helped several businesses fix this by building their own AI image generator using Cursor, the AI code editor, with no prior coding experience required. The outcome is a working, shareable tool that generates images from text, lets anyone repaint a selected region, accepts uploaded photos, layers text onto the output, and can learn to reproduce a specific face or product consistently. The entire build happens through conversation with the editor, not manual code.
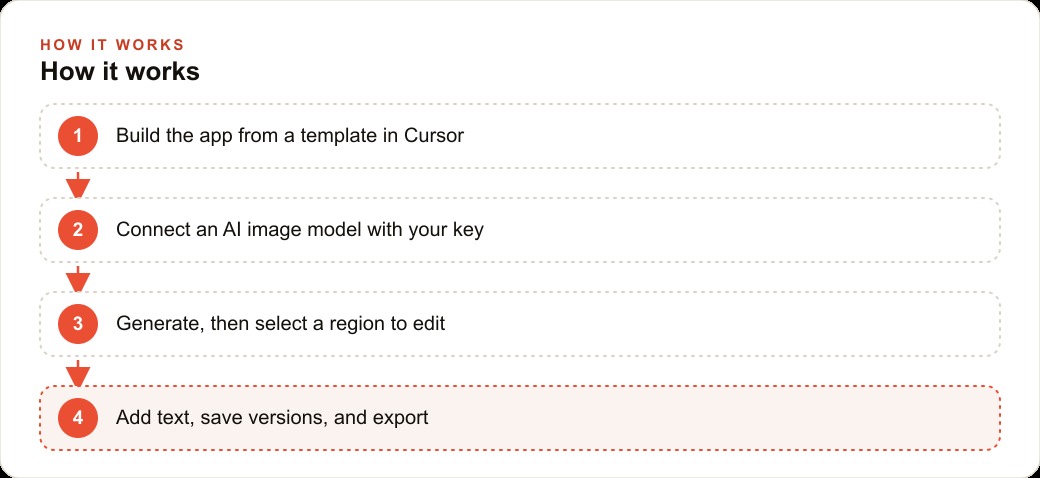
Stage 1: Pull the base app from a template and run it locally
Every build of this kind starts from a ready-made template rather than an empty folder. Templates exist for exactly this purpose: they give you a working skeleton with routing, file structure, and basic UI already in place, so your first prompt to Cursor can immediately address the features you care about rather than scaffolding. Open Cursor, load the template, run it locally, and confirm you can see the base app in your browser before writing a single feature prompt.
The first thing to confirm is that the app runs without errors on your machine. Most templates do, but if anything is missing the fix is straightforward: paste the error message back into Cursor's composer window and let it resolve the dependency or configuration issue. This cycle, paste the error, let Cursor fix it, run again, is the fundamental debugging pattern used throughout the build. You do not need to understand what the error means. You need to paste it accurately and confirm the fix works.
Once the base app is running locally, you have a working starting point. Every feature you add from this point is a prompt away.
Stage 2: Connect an image model through your API key
The app becomes useful the moment it can produce images, and that happens by connecting an AI image model through an API key. The process involves pasting the model provider's documentation into Cursor alongside your API key and instructing the editor to wire up the generation endpoint. Cursor reads the documentation, writes the integration code, and returns an app that can generate images from a text prompt.
Model quality is the most consequential decision at this stage. Higher quality models cost a small amount more per image but produce noticeably better output, and your audience will notice the difference. The gap between a basic model and a strong one is visible immediately on screen. Choose the stronger model now and avoid the friction of rebuilding later when the output does not meet your standard.
Test the connection by generating a few images from short prompts. Check that the output appears in the app, that the generation does not time out, and that the result looks like what the model is capable of producing. If anything is broken, paste the error back into Cursor.
Stage 3: Add region selection so edits stay inside your target area
The most powerful feature of a self-built image tool is inpainting: the ability to select a specific region of an image, describe what should be there instead, and have the model repaint only that area while leaving the rest of the image untouched. This is what lets you swap a grey sky for a bright blue one, replace a worn piece of furniture with something new, or remove an unwanted object from an otherwise good photo, all without affecting anything else in the image.
Adding this feature is a single prompt describing the behavior you want: the user selects an area on the image, types a description of what should appear in that area, and the model repaints only that selection. Cursor writes the selection and masking code.
There is one technical detail that causes the most common error at this stage: the dimensions of the mask used for the selection must match the dimensions of the image being edited exactly. When the mask is a different shape than the image, the model receives conflicting information about what to preserve and the edit often bleeds into areas you did not intend to change, or warps the proportion of the entire image. Before running any inpainting operation, always set the mask to match the image dimensions. Add this as an explicit instruction to Cursor and it will wire it correctly from the start.
Test the inpainting by selecting a simple region of a generated image and describing a clear change. Confirm that only the selected area changes and that the surrounding image stays intact. If the edit bleeds outside the selection, check the mask dimensions and paste the issue back into Cursor.
Stage 4: Accept uploaded images and add text overlays
Two capabilities extend the tool beyond generation into a full creative workflow. First, the ability to upload an existing photo and bring it into the same edit mode, so images from a photoshoot or a product supplier can be edited with the same inpainting tools used for generated images. Second, the ability to layer text onto any image directly inside the tool, with font, size, and color control, so a headline, a price, or a call to action can be added without opening a separate design app.
Both are single prompts to Cursor describing the behavior: accept an uploaded image file and load it into the edit canvas, and add a text overlay input that lets the user type a string, position it on the image, choose a font and size, and save the result. Cursor handles the implementation.
At this stage you have a complete creative production tool: generate from text, inpaint any region, upload existing photos, and add text overlays. Test each feature together by producing a full image from scratch, editing a region, adding a text overlay, and saving the result.
Stage 5: Train a custom model on your specific subject
The feature that separates a self-built tool from any generic image platform is the ability to train a custom model on your own subject: a founder's face, a product's appearance, a mascot, a specific visual style. Once trained, the model can place that exact subject into any generated scene without prompting, ensuring consistent representation across every image the tool produces.
Model training works by feeding a set of example images of your subject to a fine-tuning service, which adjusts the model's weights to recognize and reproduce that subject reliably. The practical steps are: collect ten to twenty clear images of your subject from different angles and in different lighting, upload them to the training service, wait for the training job to complete, and connect the trained model identifier to your app in place of the base model. Cursor can write the training upload and model-switching logic from a description of these steps.
For a personal brand, trained models on a founder's headshots eliminate the need to book a photographer for every new piece of content. The trained model places the founder's face into any promotional context, seasonal banner, or channel graphic on demand. For a product brand, a trained model on product photography ensures the product appears consistently in every generated image, regardless of background or setting. For a Facebook and Instagram ad campaigns workflow, consistent subject representation across dozens of creative variations is the difference between a brand people recognize and a feed full of visually inconsistent posts.
Stage 6: Deploy as a shareable link and hand it to the team
A tool that only the person who built it can open provides a fraction of its potential value. Once the generator is tested and working, the final step is deploying it as a link any team member can open in a browser without installing anything or understanding how it was built.
Deployment through Cursor produces a public URL your team can bookmark. From that point, anyone on the team can generate images, upload photos, run inpainting edits, add text overlays, and access the custom-trained model without touching the underlying code. There are no per-seat fees, no usage caps set by a vendor, and no feature restrictions imposed by a roadmap. The tool is yours.
For businesses running Google Ads campaigns alongside organic content, the ability to produce many more branded images per week with no additional cost per image changes the economics of ad testing. More creative variations at the same spend means more data on what resonates, and more data produces better decisions in every subsequent campaign.
The worked example: a real estate agency producing listing imagery at scale
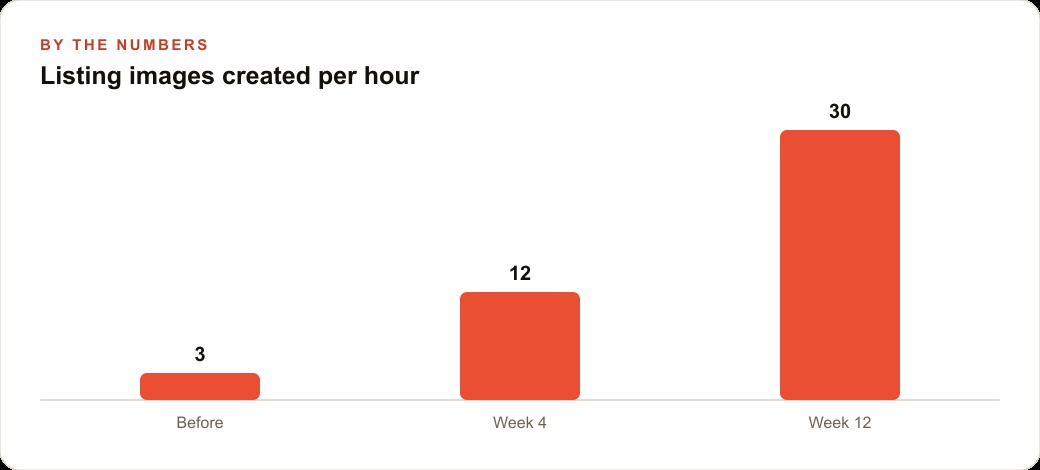
Consider how this build would serve a real estate agency. The agency needs clean, professionally presented images for every listing: wide shots, detail photos, social media crops, and branded versions with the price and address overlaid. Currently, each set of listing images requires a design step that creates a bottleneck before anything goes live.
The agency builds the generator from a template in Cursor, connects a high quality image model, and confirms generation works. They add region selection and inpainting, which immediately becomes useful for listing photos: a grey overcast sky in a wide shot gets selected and repainted blue, a patchy front lawn gets selected and filled with healthy green grass, an empty dining room gets a staging suggestion inpainted into the selected region. None of these edits touch anything outside the selected area, so the rest of the photo remains exactly as shot.
The agency adds image upload so the photos from their own shoots can come directly into the editing workflow. They add a text overlay tool so the price, the address, and an open house date can be placed directly onto each image in the correct font. They train a custom model on the lead agent's headshots so a professionally branded photo of the agent can be dropped into any promotional material without booking a new shoot.
The result is a tool the whole office uses from a shared link. A new listing that used to take a design session before any marketing assets were ready now has a complete set of branded images the same afternoon the contract is signed. Listings go to market faster. Social content goes out more consistently. Ad creative gets refreshed each week rather than each month. The agency is not waiting for a designer for any of it.
The errors you will hit and the pattern for fixing every one
Three categories of errors come up reliably in builds like this, and all three follow the same fix. The first is a connection error when adding the image model: the API key is wrong, the endpoint URL is slightly off, or a required header is missing. Fix: paste the error into Cursor alongside the model's actual documentation and tell it to match the implementation to the docs exactly. The second is a dimension mismatch in inpainting that causes edits to bleed outside the selection or warp the image. Fix: paste the error into Cursor and instruct it to always build the mask at the same dimensions as the source image before running the inpaint. The third is a deployment error where the public URL does not load the app correctly. Fix: paste the deployment error and let Cursor correct the build configuration.
None of these errors require you to understand the underlying code. The pattern is always the same: copy the error message accurately, paste it into Cursor's composer, and let it repair the issue. The tool grows stronger after each fix because Cursor remembers what worked and applies that knowledge to avoid the same class of problem in future prompts.
For any business already managing a CRM and website stack, the final integration step is connecting the image generator to the existing workflow: a folder in shared storage where finished images land automatically, a webhook that notifies the right person when new creative is ready, or a direct link from the CRM record to the image set for that client or listing. All of these can be added as individual prompts after the core tool is working. Build the tool first. Wire the integrations after. The order matters.
That is exactly what we do at AI DOERS. Book a private 30-minute call with Madhuranjan Kumar and we will map the fastest path to it for your specific business.
Book your call →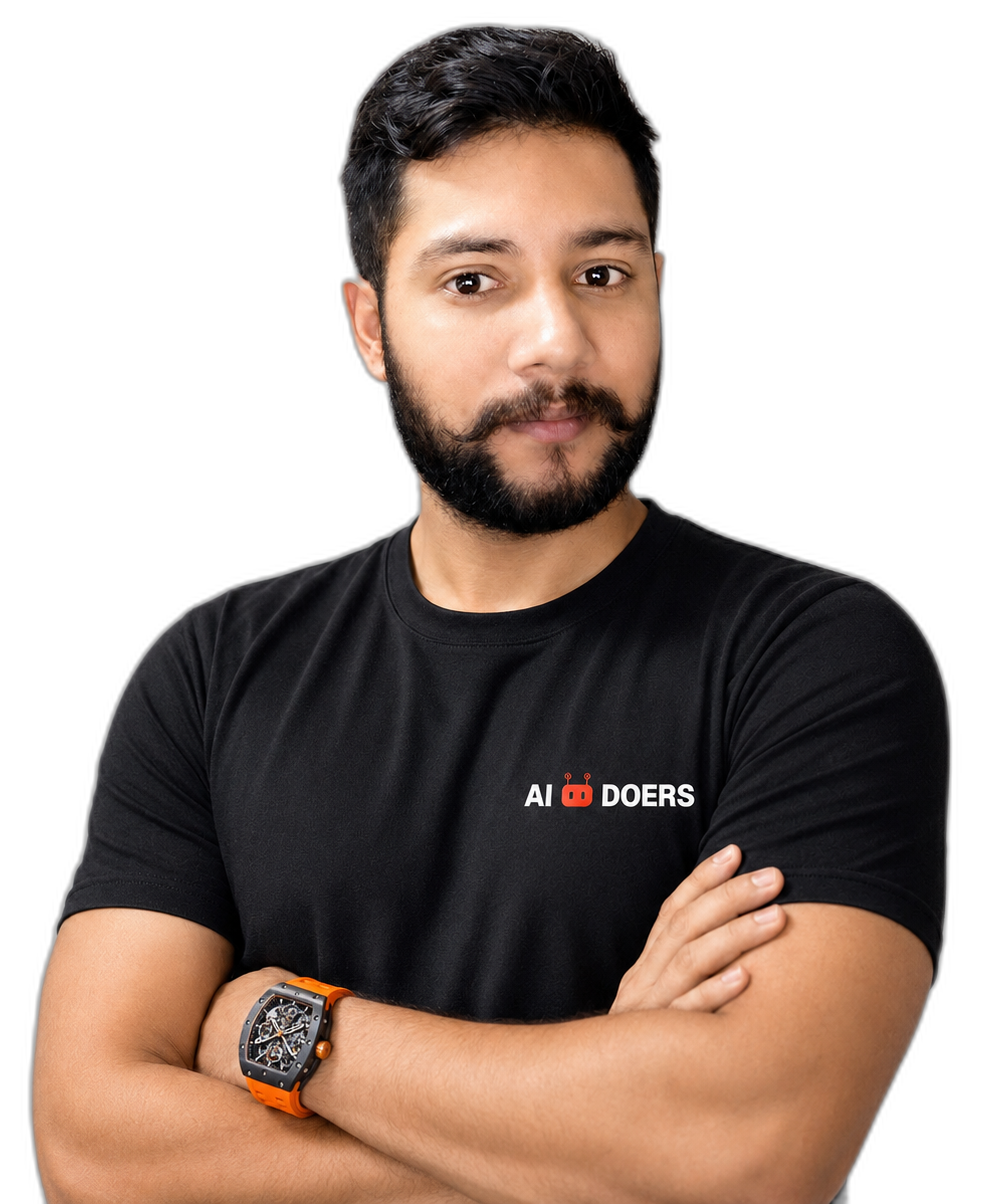
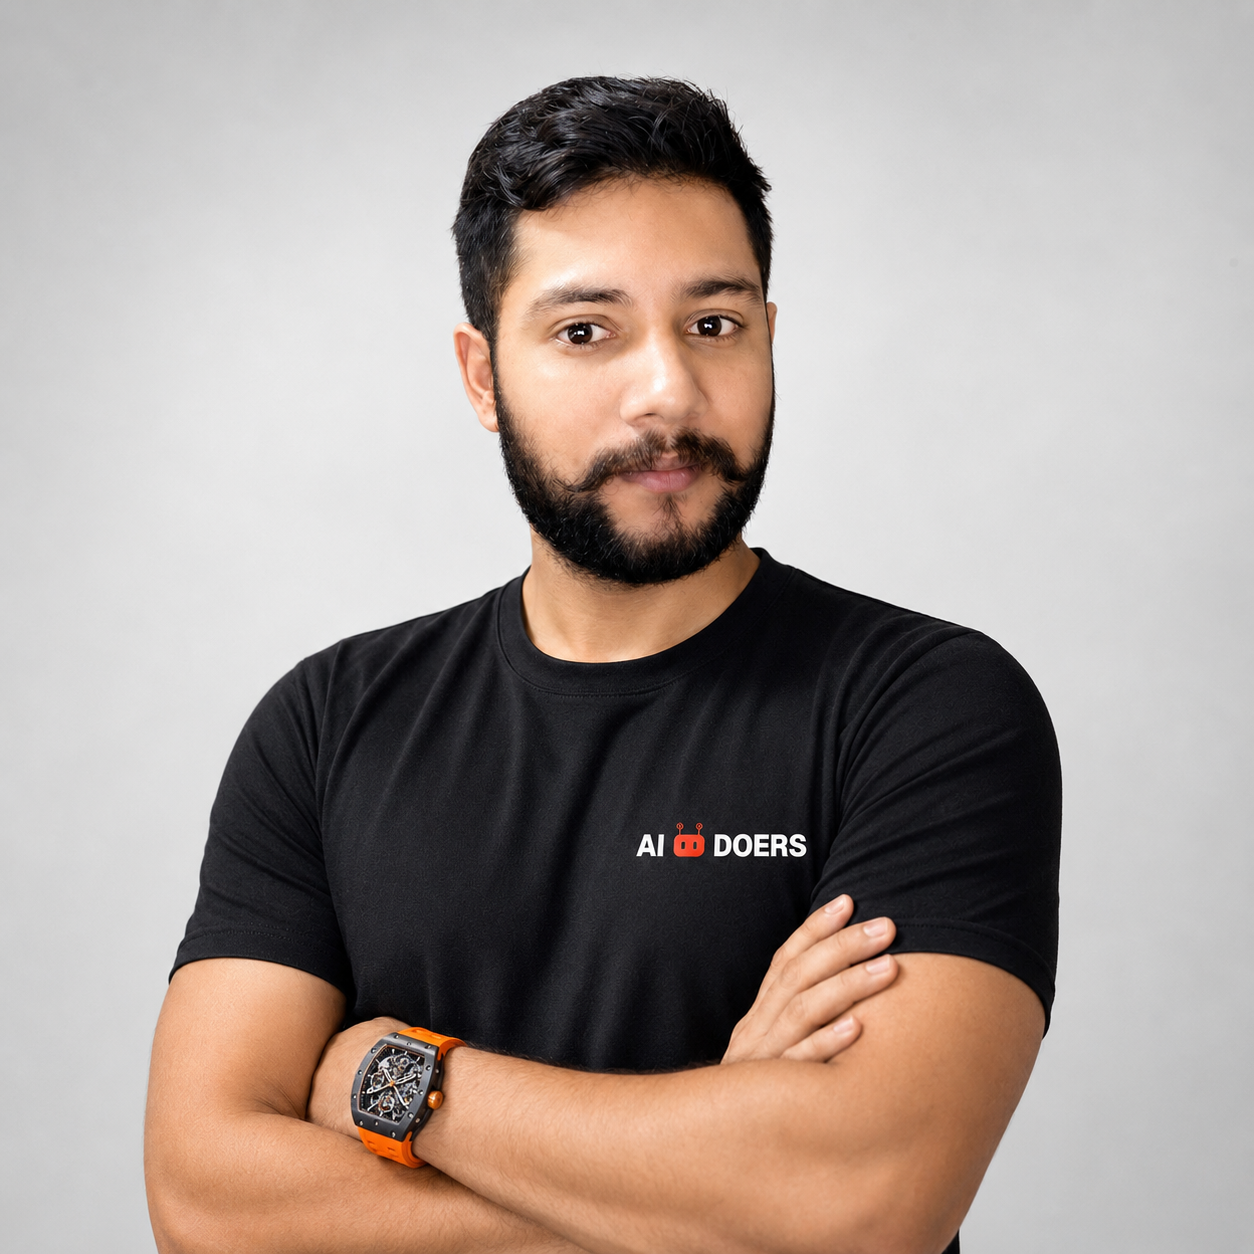
Madhuranjan Kumar
Madhuranjan Kumar brings 20 years of performance-marketing experience and has managed over $200 million in Facebook ad spend for brands across the United States and beyond. His expertise spans the full modern marketing stack: Meta, Google Ads, TikTok, email automation, CRM, and the websites that hold it together. At AI DOERS he turns that track record into lead-generation systems for businesses across every industry.