
How to Build Your Own AI Image-Editing App With No Code
A staged walkthrough of building a custom AI photo editor with an AI agent, with a worked example for an e-commerce store.

Get the Upload Screen Working Before Adding the AI
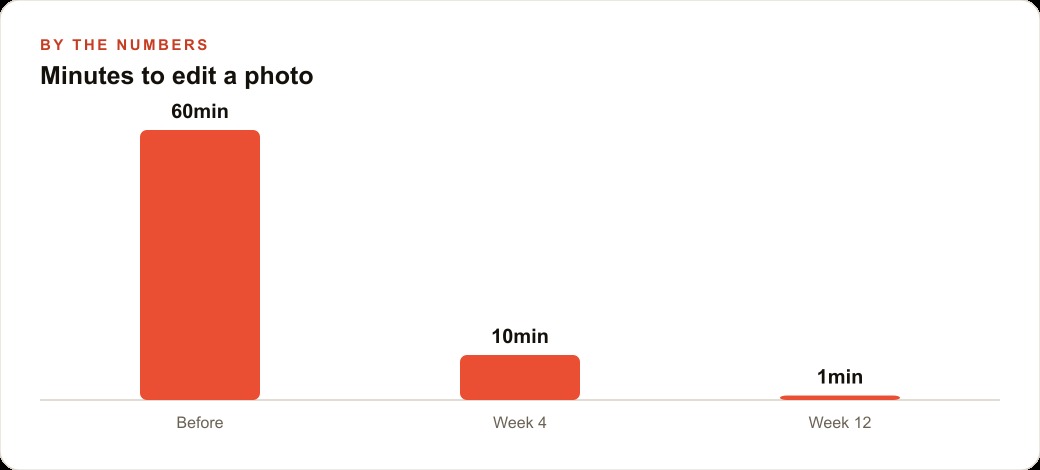
Twenty products a month sounds manageable until you count the actual time. An e-commerce store owner adding a new collection spends, conservatively, eight minutes on each product photo: pulling the supplier image into editing software, adjusting the background, removing the price sticker or watermark in the corner, correcting the lighting, exporting in the right format, uploading to the store. For twenty products that is two and a half hours of skilled, attention-demanding work. Build that into a week that also includes receiving inventory, writing listings, and handling customer service, and it reliably becomes the task that slips to the weekend.
Madhuranjan Kumar built a custom AI image editor for an e-commerce client who faced exactly this constraint. The app accepts a product photo, a plain-language description of the edit needed, and returns a polished image. No editing software. No design training required. This playbook is the exact sequence used to build it, written for someone who wants to build the same thing for their own catalog.
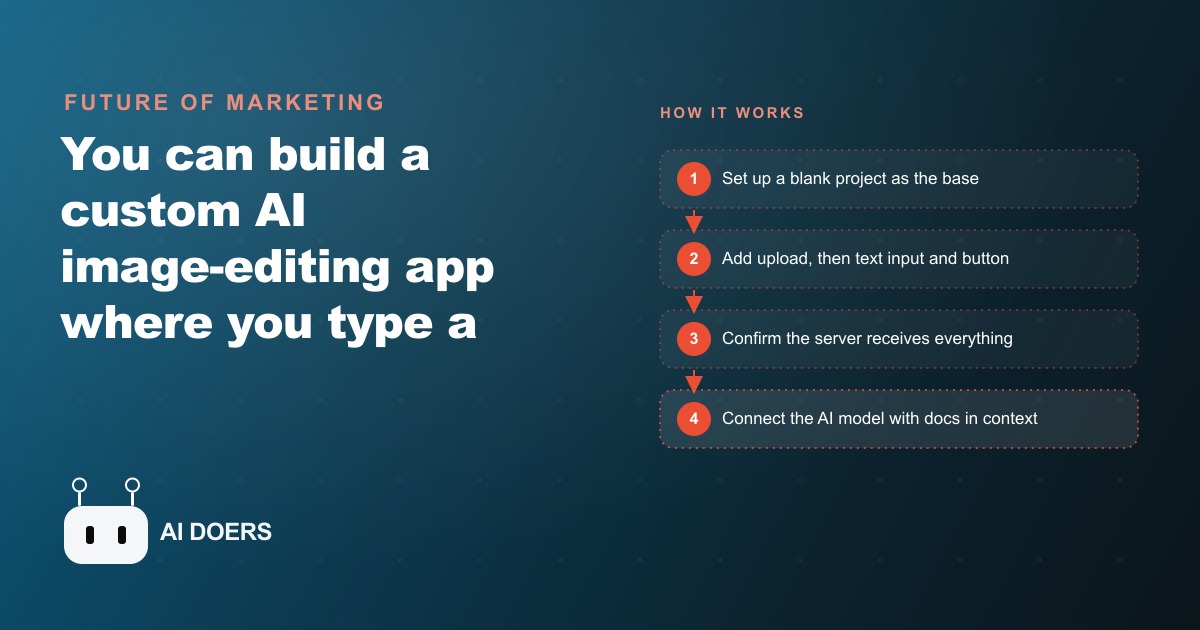
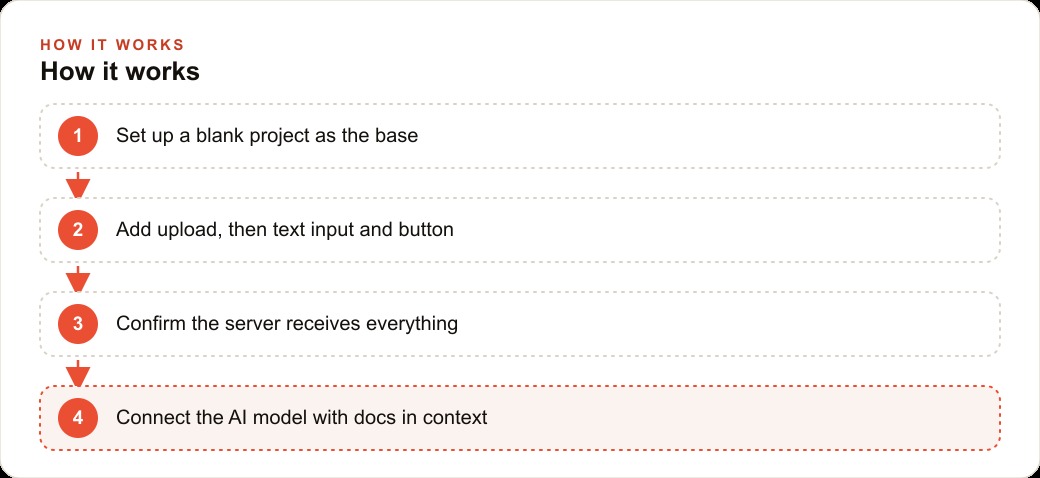
The most important principle is the build order. Every stage gets proven before the next stage goes in. The temptation is to jump to the interesting part, connecting the AI model, as soon as the basic structure exists. That approach produces a tangle of layers where a failure could be anywhere, and debugging requires guessing which one broke. The staged approach produces a clear confirmation at every step, so when the AI connects, it is connecting to something that is verified to work.
Start with a blank project and make the first thing work: a file upload box that displays the selected image on screen. Nothing else. No server call. No submit button. No styling. When you click a product photo and it appears in the browser, the first stage is complete. That single working piece is the foundation everything else builds on, and confirming it works before moving forward costs five minutes and saves potentially hours.
Prove the Server Receives Image and Text Before Connecting Anything Expensive
The second stage adds the text input and the submit button. A field where you type the edit instruction and a button that submits the form. The first version of the server-side handler does exactly one thing: logs that it received an image and some text, then returns a simple confirmation. No model call. No API connection. No processing of any kind.
This is the plumbing stage, and it is where most first-time builders get impatient. The goal seems obvious and the plumbing seems tedious. That impatience is expensive. Proving the plumbing works before connecting the AI is what makes the AI connection work on the first real attempt rather than after a session of guessing whether the failure is in the interface, the server layer, or the model call itself. When you see the server log confirming it received the image file and the instruction text, you know that layer is solid. Any failure after that point belongs to the new thing you added, not to something that was already there.
For the e-commerce store's build, this step took about thirty minutes. The upload worked. The text field submitted correctly. The server logged both. The confirmation appeared on screen. That confirmation was enough to move forward, because the plumbing was proven and the next layer could be added to a stable foundation rather than to an uncertain one.
A useful additional habit at this stage: write a simple test that submits a known image with a known instruction text and checks that the server receives exactly what was sent. This test takes about ten minutes to write and runs in a few seconds. It becomes the regression check you run after every future change to confirm the foundation is still solid. Many debugging sessions that take hours could be avoided by running that test first.
Feed the Model's Documentation to the Agent Before Writing a Single API Call
The third stage is where the AI model connects. Before writing any code that calls the model, paste the model's official API documentation into the agent's active context. Not a summary of what the model does in general terms. The actual documentation: endpoint specifications, required parameters, authentication format, error codes, and example API calls with their expected responses.
This step is the difference between a model connection that works on the first or second attempt and one that produces a session of cryptic failures. AI coding agents call APIs reliably when they have seen the documentation in context. They produce unreliable code for APIs they have only heard about in general terms, because they are guessing at parameter names, response formats, and error handling patterns that are all specified precisely in the actual docs.
For the store's product photo editor, the relevant documentation covered the exact format for submitting an image and an instruction together in a single API call, the parameter that controls how literally the model follows the instruction versus exercising interpretive judgment, the authentication format for the access key, and the error codes that indicate quota exhaustion versus malformed requests. With all of that in context before the first line of API code was written, the initial call failed once on a formatting detail that was visible in the docs. The agent corrected it immediately because the specification was right there. The second call worked. Compare that to the alternative: three hours of trial-and-error API calls against a model the agent has only partial knowledge of.
Store the Access Key Safely and Add Version History Before the First Real Edit
Before running the first real product photo through the app, two things need to be in place. The access key for the AI model must live in an environment variable that the server reads at startup, never in the source code and never visible in the browser. This is not a production hardening step to handle later. An API key that appears in source code during a development session has a way of staying there. Set up the environment variable correctly from the first real API call and the habit is established for every subsequent change.
Version history is the second thing to add before real edits begin. The natural instinct is to skip it and add it later if the need becomes obvious. The problem is that the moment version history becomes obviously necessary is the moment an edit goes wrong and the original is already overwritten. For product photos, an edit that removes too much of a background and clips the product edge, or changes a color that needed to stay consistent with the listing description, needs to be reversible. A version strip showing each previous state of the photo makes reverting a one-click operation.
For the store's build, the version strip showed the original supplier photo, each edited intermediate state, and the current version. When an early edit on a silk kurta set removed too much background and cut slightly into the fabric edge at the sleeve, the store owner clicked back to the previous version and refined the instruction. The next pass was correct. Without version history, returning to the original would have required finding the supplier's file, re-uploading it, and starting the editing process from scratch.
Build both of these in before the first real product edit, not after it. The hour spent adding them at this stage saves disproportionately more time when the first thing goes wrong, which it will.
Deploy When Every Stage Has Been Confirmed, Then Process the First Real Batch
Deployment is the stage where the order-of-operations principle applies one more time. Deploy when every component has been confirmed working independently: the upload, the server receipt, the model call, the key storage, and the version history. Not when most of those things appear to work. When each has been tested deliberately and shown to produce the correct result.
For the store's deployment, a pre-deployment batch of five product photos ran through the complete flow. Each one was uploaded, given an instruction, sent through the model, displayed with the version strip, and reviewed. All five produced clean edits within two passes. The average time per product was about 45 seconds of model processing plus another 30 seconds of review and minor re-prompting where needed. Against the eight minutes each had previously taken in editing software, the difference was immediate.
After deployment, the store processed the first full batch of twenty new products in under twenty minutes. The total API cost for all twenty edits was under $2. The store owner spent the remainder of that morning on product descriptions and pricing rather than on photo cleanup. At twenty products per month, the monthly API cost stays well under $2 and the time recovered is more than two hours that previously went to editing software every time a new collection arrived.
The standard instruction that handled approximately 80 percent of incoming supplier photos was: put this product on a clean white background, normalize the brightness, and remove any price stickers, watermarks, or background clutter. The remaining 20 percent needed one or two refinements to handle unusual backgrounds or complex product edges. The entire monthly editing workflow now runs in under one-quarter of the time it had previously required.
What to Add Once the Core Build Works
Once the core edit flow is deployed and confirmed on a real batch, two additions materially improve the workflow without requiring a rebuild of anything that already works. A batch mode allows the store owner to queue all twenty supplier images from a new collection, apply a single standard instruction to the whole set, and let the app process them sequentially without managing each one individually. Adding batch mode to the existing build takes about an hour because the foundation was built cleanly in stages.
The second addition is a consistent download naming convention. When the app exports the edited version of a product photo, naming it after the product name and a date stamp rather than preserving whatever filename the supplier assigned makes importing into the store catalog a clean operation rather than a renaming session before every upload. Two minutes of naming logic at the export step saves fifteen minutes of file management before every catalog import.
Both additions took under two hours to implement because the staged build approach produced a codebase that extended cleanly. That is the final argument for the sequence-based approach: a build assembled in a deliberate order, where each stage is confirmed before the next is added, accommodates new features without requiring a rework of what already exists. A build assembled quickly by connecting layers before proving them tends to resist extension and eventually needs to be rebuilt from a clean foundation anyway. The time saved by skipping the plumbing stage is borrowed against future debugging time, and the interest rate on that loan is high.
The staged build approach described here is also what makes debugging straightforward when something does go wrong after deployment. Because each layer was confirmed independently during the build, a failure in production can be isolated to the layer that changed most recently rather than diagnosed across an opaque stack. That isolation property is valuable every time the AI model's API updates, every time a supplier sends images in an unexpected format, and every time a team member uses the app in a way that was not anticipated during testing. A build that was assembled quickly by skipping the confirmation steps at each stage makes every future debugging session harder than it needs to be. The staged approach is slower to build by a few hours. It is faster to maintain over every subsequent month of real use.
If you would rather have someone scope the build, set up the model connection safely, and configure the batch workflow around your existing catalog, that is the kind of project that can be handed off and completed cleanly. The result is a tool your team owns, running on your infrastructure, processing your product photos at a cost that is nearly invisible on a monthly basis.
That is exactly what we do at AI DOERS. Book a private 30-minute call with Madhuranjan Kumar and we will map the fastest path to it for your specific business.
Book your call →
Madhuranjan Kumar
Madhuranjan Kumar brings 20 years of performance-marketing experience and has managed over $200 million in Facebook ad spend for brands across the United States and beyond. His expertise spans the full modern marketing stack: Meta, Google Ads, TikTok, email automation, CRM, and the websites that hold it together. At AI DOERS he turns that track record into lead-generation systems for businesses across every industry.